Wuthering Waves: Echo Fusion Strategy
Opening:
In the current version 1.0 B, we can understand that most character outputs are mainly attack multipliers. We can also vaguely speculate that in the upcoming versions, characters like Jinxi and Chang Li will also have attack multipliers. Therefore, currently, there are only a few characters without attack multipliers.
(Element references for clarity: Fire – Melting, Ice – Condensation, Wind – Aerodynamics, Thunder – Conductivity, Light – Diffraction, Dark – Annihilation, Lingering Sound – Attack Set, Hidden World Light – Healing Set)
Among them, Yuan Wu is a defense multiplier Thunder main/sub, and currently, his damage from skills alone is somewhat underwhelming. Of course, whether he can also benefit from future resonance skill damage increases like those from neighboring troupe sets remains uncertain, but that would be unrelated to the Thunder set.
Tao Qi is a defense multiplier Dark main/sub, capable of self-attacking on the battlefield (although damage may not be high), and can also shield herself, somewhat like the neighboring maid, but Tao Qi can only heal herself.
Bai Zhi, an Ice-type healer, has a peculiar path for battlefield output and generally isn’t prioritized. Her output is attack multiplier, while healing is life multiplier.
Dān Jǐn, a Dark main/sub, although her resonance skills consume health, her output is entirely attack multiplier, so she probably doesn’t need health as a main attribute to supplement her survival.
Main Topic: How to Choose and Abandon Main Attributes?
Part 1: Basic Area
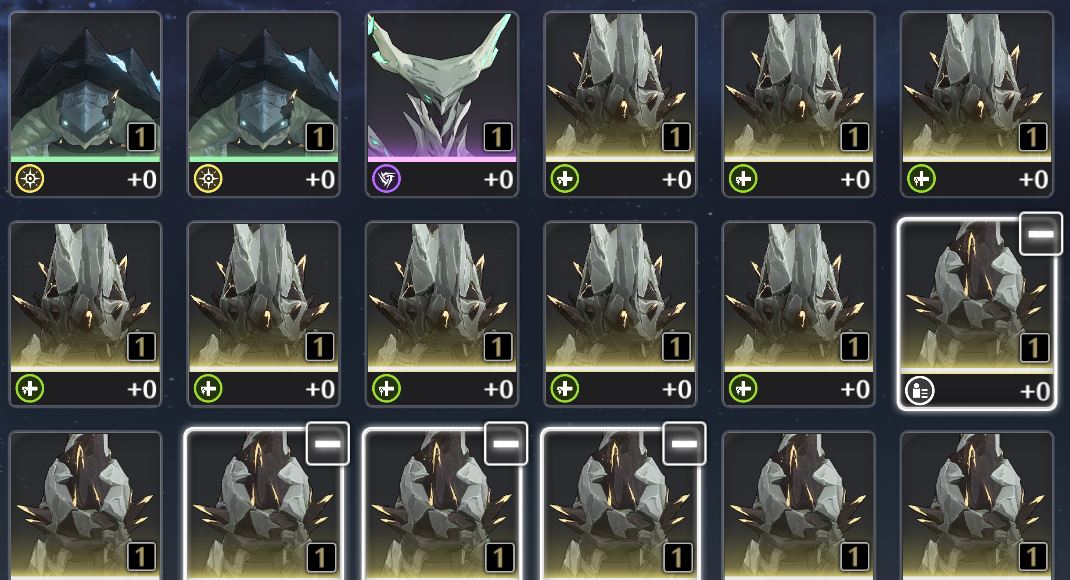
- Discard anything below gold quality. Sets whether 4-star or 5-star don’t differ by category. If it’s something rare, like the resonance efficiency attribute of the Light Cloud set, you can transition with a 4-star first, but eventually, you’ll definitely switch to 5-star. (Rumor has it that future Data Dock levels will increase, making gold quality drop rates 100%, so this point may become less useful.)Process: Sort by quality and automatically place it.
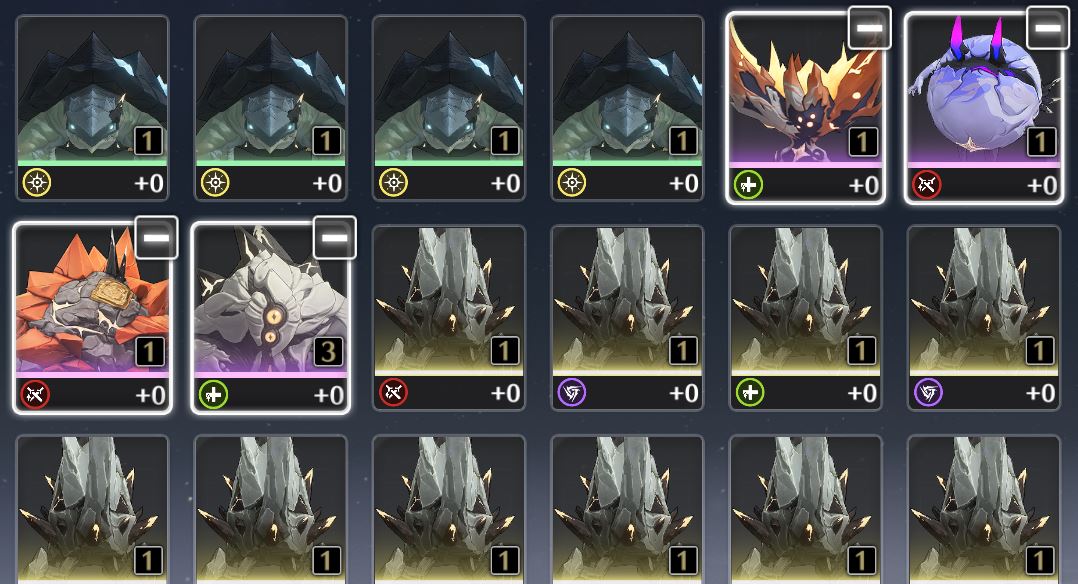
- Discard main attributes severely mismatched with the set effect. Basically divided into two categories: 6-element sets and attack sets.Among them, 6-element sets cost 3, as long as the damage increase from the set and the main attribute don’t match (such as Thunder set with Purple Feather Heron adding Fire damage, Wind set with Cyan Feather Heron adding Light damage, presumably everyone encounters this when starting out with Ember or Kaka, brushing embryos), can basically be directly discarded without consideration.Process: Filter main attribute damage bonus ‘a’, then select everything except (a set, attack set, Light Cloud set, healing set) to discard. (The reason for not discarding the healing set will be explained later.)
In attack sets, adding percentage life and percentage defense is also quite humorous because of the existence of evasion to prevent damage, not like the attack sets that need main attributes of life and defense like a certain game’s fox star god. So, this type can also be prioritized for discarding.
Process: Filter main attributes life percentage + defense percentage, select attack set sound husk for discarding.
- Discard damage set and attack set healing main attributes. You can’t expect a nurse to use a damage set to output while also carrying a healing main attribute cost 4 to increase milk volume and giving up the critical hit main attribute cost 4. After all, someone next door has left a vice attribute double explosion that heals but has a plaything, and the future is expected to be promising in nearly four years.In terms of attack sets, because attacks can be compensated with two cost 1s, there’s no need to specially give a nurse an attack set or even 2+2. This type of sound husk is best cleaned up from the top 4 in the previous image.Process: Filter healing main attributes, discard 6-element sets and attack set sound husk.
- Discard unused life percentage main attributes and defense percentage main attributes. Looking at 1.0-1.1, no one uses life multipliers for damage, so the life main attributes of the 6-element sets can be directly discarded, including cost 1, cost 3, cost 4. Of course, if there’s a small rumor saying someone will be life/defense multiplier in the future, you can also keep a hand on related main attribute sound husks.Process: Filter main attribute life percentage, select 6-element set sound husk for discarding.For Tao Qi and Yǎn Mù, defense percentage main attributes are effective attributes for them, so the current version’s Dark and Thunder defense percentage main attribute sound husks can be retained depending on the situation.
Process: Filter main attribute defense percentage, select Fire, Ice, Wind, Light four-element set sound husks for discarding.
If you don’t plan to raise these two characters and think their future is bleak, you can also choose not to keep Thunder and Dark defense percentage main attribute sound husks and discard them directly.
Conclusion of this section: Given the current situation, discarding up to this point is almost done. The remaining sound husks we have are:
All healing sets and Light Cloud sets
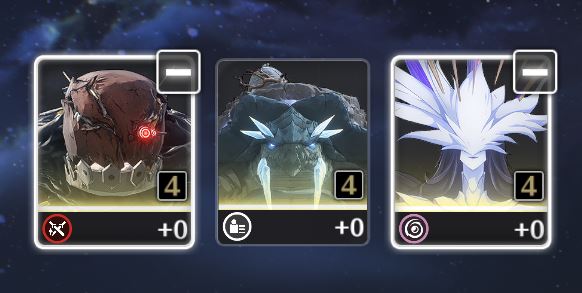
Attack sets: cost 4 attack/critical hit/critical hit damage main attributes, cost 3 six-damage/attack/resonance efficiency main attributes, cost 1 attack main attributes
Thunder and Dark sets: cost 4 attack/defense/critical hit/critical hit damage main attributes, cost 3 corresponding damage/attack/defense/resonance efficiency main attributes, cost 1 attack/defense main attributes
Ice, Fire, Wind, and Light sets: cost 4 attack/critical hit/critical hit damage main attributes, cost 3 corresponding damage/attack/resonance efficiency main attributes, cost 1 attack main attributes
Combining the above categories of discarding 1-4, the following comprehensive process is outlined:
Process: Select life percentage main attributes and healing main attributes, keep only Light Cloud sets and healing sets, discard others. Select defense percentage main attributes, keep Light Cloud sets and healing sets, decide whether to keep Thunder and Dark sets depending on whether Yǎn Mù and Tao Qi are developed.
Part 2: Strict Area
The following screening and description are more complex. Generally, by this point, there aren’t many sound husks left, so there’s no need to continue screening and discarding.
- Melting Away Cost 4 Attributes In later stages with sufficient double bursts, cost 4 attributes like Attack, Defense, and HP are no longer necessary. For healers using the Light Yun or healing sets, healing bonuses are prioritized as cost 4 attributes. Main DPS should focus on Elemental sets with critical rate or damage as main attributes, while sub DPS should prioritize Light Yun or attack sets with critical rate or damage as main attributes.The only exception is characters like Diona, who focus solely on shielding. In this case, all slots can prioritize defense percentage, making the choice of set less critical. For instance, a healing set with Wanderer’s Troupe in the first position can provide a 15% team-wide attack increase, or a 5-piece Light Yun set can be chosen for subsequent variations. (If you have already selected 5 positions with defense percentage, there is no need to choose the basic 5 annihilation set with basically no income.)There is currently no defense benefit healer, so if you do not consider the situation of Taoyuan, the defense main attribute of the Light Yun set and the healing set can also be melted.
Process:
First, select cost 4 and main attribute attack percentage + life percentage, and select all melt.
Secondly, select cost 4 and defense main attributes, choose Thunder set and Dark set (other sets have been melted before), do not consider Taoyuan, and you can also choose Light Yun set and treatment set.
There is only cost 4 to screen, which should be easier.
- Melting Away the Treatment Set’s Output Attributes Note: Abyss exclusive, the current version only has Verlna and Baizhi two treatment roles, these two if there is no endurance in the abyss, when choosing the third team’s treatment/assistance position, if the team Another deputy c has chosen the Light Yun set, this deputy c can choose 5 treatments, and the No. 1 position can trigger the team’s attack with a cruising butterfly or fissure.If the team does not consider the above issues, the current version can choose to clear the treatment set’s output attributes.
Process: Select six major attributes of damage and critical hit rate/critical damage main attributes, select all treatment sets of output attributes, do not consider Taoyuan, and can also select treatment sets with defense main attributes.
- Melting Away Light Yun Treatment Main Attributes and Life Main Attributes There is one of the following situations in the team:(1) The secondary C has lost the output of the Light Yun set> The attack of the main C brought by the Light Yun set increases the output, and the team’s +15% attack is not as good as a C +22.5% attack. (Rarely)(2) The secondary C or the main C is a non-attack gain character and cannot benefit from the attack effect of the healer’s healing set. (You can choose 연무 or Taoyuan when the team has taken)
(3) Survival pressure is too great, the team carries two healers, one with a Light Yun set and one with a healing set. (Rare)
One exists, so keep the main Light Yun treatment, and you can choose to melt without having to worry about the above team problems.
Process: Select the main attribute of treatment bonus + life percentage, and choose all Light Yun sets to melt.
- Without considering yuanwu and Taoyuan Process: Select the main attribute of defense and melt all sound.
At this point, even if it is strict, it is basically organized, and we still have the sound:
Cost 4:
Treatment set: Treatment main attribute,
Other sets: Critical/critical damage main attribute
Cost 3:
Treatment set: Attack percentage/life percentage/resonance efficiency main attribute
Attack set/Light Yun set: Attack percentage/all elemental damage/resonance efficiency main attributes
Other sets: Attack percentage/suit corresponding damage/resonance efficiency main attributes
Cost 1:
Treatment set: Attack percentage/life percentage main attribute (Verlna/Baizhi)
Other sets: Attack percentage
For those with high requirements for organization, you can refer here: Summary of the processes from 1 to 8:
- First, choose the main stat with a percentage defense and remove all.
- Then, choose the cost 4 and percentage health main stats + percentage attack main stats, remove all, select cost 3 and cost 1 percentage health main stats, remove all except the healing set.
- Finally, choose critical rate/critical damage main stats and all attribute damage main stats, remove all healing set main stats. Choose the healing bonus main stat, remove all non-healing set main stats.
Part 3: Extreme Zone At this point, you are almost done. Of course, if you feel it’s still not enough, you can choose the most extreme optimization plan (but I don’t recommend it):
- Remove the cost 3 percentage attack main stat used for output When the damage increase is not enough, the main character usually uses attribute damage main stats, rarely choosing attack main stats, so for the more demanding individuals, this part can also be removed.
Process: Filter cost 3 and percentage attack, remove six types of attribute sets and Light Cloud set main stats.
- Remove the cost 3 basic main stats used by healers An extreme case, when the healer’s resonance efficiency is seriously insufficient, their cost 3 position needs to carry resonance efficiency. Vireina’s cost 3 attack and Baizhi’s cost 3 position do not have percentage attack main stats or percentage health main stats.
Process: Filter cost 3 with percentage attack + percentage health, remove all healing set main stats.
Thus, the main stats have been largely cleaned up, and the remaining main stats are:
Cost 4: Healing set: Healing main stats Other sets: Critical rate/critical damage main stats
Cost 3: Healing set: Resonance efficiency main stats Attack set: Percentage attack/all element damage/resonance efficiency main stats Other sets: Set corresponding damage/resonance efficiency main stats
Cost 1: Healing set: Percentage attack/percentage health main stats (Vireina/Baizhi) Other sets: Percentage attack
This is the final version of the kept main stats. Most of the chosen main stats are these types, and most characters use these types. I won’t provide a comprehensive process from 1 to 10. Here are some more extreme and not recommended plans:
Appendix 1: Remove all attack set main stats: Currently, attack sets are mostly used for a 2+2 transition, and no one uses attack 5. However, if a character comes in the future who can use the attack 5-piece set and has a very high skill multiplier, it’s good to keep one in reserve.
Appendix 2: For single-target bosses, the resonance efficiency of the characters who need to burst output is generally insufficient. It is suggested to keep all cost 3 resonance efficiency main stats and not recommend removing the resonance efficiency main stats of output sets.
Part 4: Fantasy Zone I personally believe that the current version has not enough main stats sets. More special sets could be added. Here are some suggestions I propose, and you can discuss them in the comments:
- Resonance Skill Set: 2-piece set: 10% increased resonance skill damage; 4-piece set: 20% increased resonance skill damage, if the wearer of this set is not on the field, the resonance skill damage is additionally increased by 20%.
- Resonance Efficiency Set: 2-piece set: 10% increased resonance efficiency; 4-piece set: When a resonance user releases a resonance liberation, all resonance users in the team have their attack increased by 30%, lasting 15 seconds.
- Resonance Liberation Set: 2-piece set: 10% increased resonance liberation damage; 4-piece set: Based on the resonance efficiency of the wearer, increase their resonance liberation damage by 12.5%.
- Normal Attack Set: 2-piece set: 10% increased normal attack and heavy strike damage; 4-piece set: After releasing a resonance skill or resonance liberation, normal attack and heavy strike damage are additionally increased by 40%, lasting 15 seconds.
- Critical Set: 2-piece set: 7% increased critical rate; 4-piece set: Each time a dodge counter or counter-attack is triggered, critical damage is increased by 10%, lasting 15 seconds, and can be stacked up to 5 times.
- Defense Set: 2-piece set: 10% increased defense; 4-piece set: When not on the field, defense increases by 5% every 1.5 seconds, up to 4 layers, and loses one layer every 2 seconds upon entry. Additionally, variation skill damage is increased by 60%.
- Health Set: 2-piece set: 8% increased health; 4-piece set: After a resonance skill or resonance liberation hits, all resonance users in the team have their damage increased by 30%, lasting 5 seconds, and can be triggered every 2 seconds.
- Resonance Efficiency Set 2: 2-piece set: 10% increased resonance efficiency; 4-piece set: When a resonance user releases a resonance liberation, all other resonance users in the team recover 5 points of resonance energy every 3 seconds, lasting 15 seconds.